
We’re at that point in the winter when spring feels months, not weeks, away. As a lifeline, many of us have been Googling spring break destinations a little – a lot – more than we care to admit.
Can we suggest a cheaper and, potentially, safer alternative? Self-tanner.
Yes, seriously.
Imagine booking that trip, feeling so excited to feel the warmth of the sun upon your arrival you forgo sunscreen and end up with a sunburn so bad it derails the rest of your stay. Not to mention the potential long-term repercussions.
Now imagine the boost you’ll feel looking at your newly tan self in the mirror. Sure, it’s still cold and gray outside, but you look like you just spent a long weekend by a pool in Miami, a story you’ll happily tell yourself, and others (why not?), for weeks to come. And all it cost you was the price of the self-tanner and an hour or so of your time.
Here comes the important part: applying it the right way so you don’t look all blotchy or orange, which would totally ruin the fantasy. Don’t be intimidated. Just follow the step-by-step guide that follows.

Shower and exfoliate
You want to start with a clean canvas, so shower first and exfoliate with a body scrub. Ideally, you should do this 24 hours before applying the self-tanner. Your tan will likely develop more and last longer than if you were to shower and exfoliate right before.
Using an exfoliating product will help remove dead skin cells, which is important because it’s the presence of dead skin cells that can lead to an uneven appearance. With that in mind, spend a little more time exfoliating where your skin is thickest, on your knees, elbows, ankles, and the back of your heels.
Moisturize – selectively
Self-tanners tend to dry out your skin. This can leave patchy areas if you have dry skin to begin with – at this time of year, who doesn’t? To prevent this, apply a non-oil-based moisturizer to the spots mentioned in the paragraph above, along with any other severely dry spots. Don’t, however, apply it all over because moisturizer dilutes self-tanner. The skin in these spots will absorb the tanner quickly and develop darker than the rest of the body if you don’t moisturize beforehand.
Apply in sections
Start applying at the bottom of your ankles and work your way up. Message the self-tanner into your skin in a circular motion, using enough of it so that you can see the tan on your skin. Break your body down into sections, such as legs, torso, arms, and complete each section before moving on to the next one.
You’re going to apply the tanner differently to your feet and hands, so save those for the end.
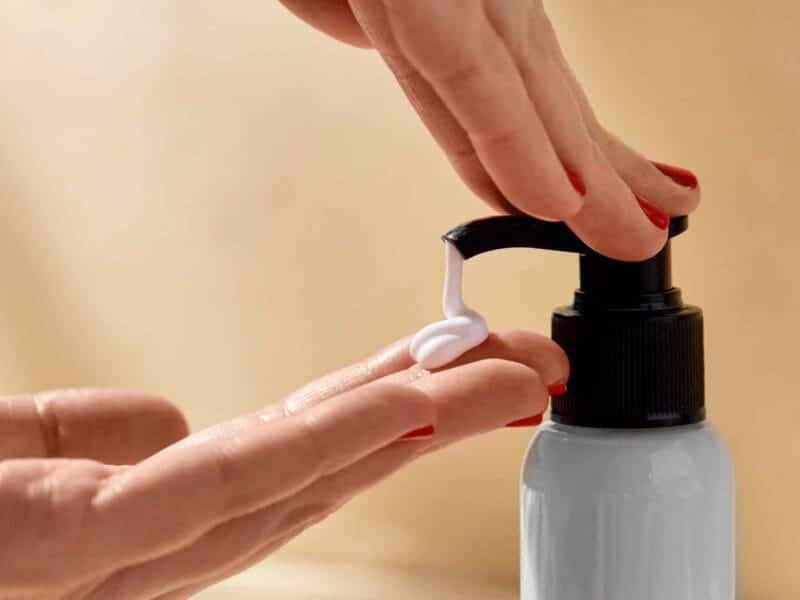
In the meantime, use a tanning mitt or latex gloves to protect your palms and fingers from staining. You could also wash your hands with soap and water after each section. You may need a cleansing wipe, too, at the end to clean off your nails and cuticles.
Blend and dilute
Now for the hands and feet. Using a minimal amount of tanner, lightly extend it from where you stopped at the wrists and ankles and blend in the fingers and toes. Then apply a small dollop of moisturizer to the back of your heels, ankles, wrists, elbows, and knees. These areas tend to absorb more self-tanner than the rest of your skin, so it needs to be diluted.

Use a face-specific formulation
The surest way to get your face to match the rest of your body is to use a self-tanner that’s formulated specifically for the face. They’re lighter and noncomedogenic.
Preserve your tan
Finally, wait 20 minutes to get dressed and at least 12 hours to shower or apply any kind of product to your skin, including perfume or cologne.
Shaving exfoliates dead skin. Which means you should avoid it if you want your tan to last. You can use a depilatory cream instead. Dry skin is another enemy of a fake tan, so moisturize daily with an oil-free formula.
And, of course, you still need to protect your skin, even now, in the dead of winter. So, make sure you apply a broad-spectrum sunscreen with an SPF of at least 30 before heading outside.
 How Your Skincare Routine Could Affect a Heart Condition